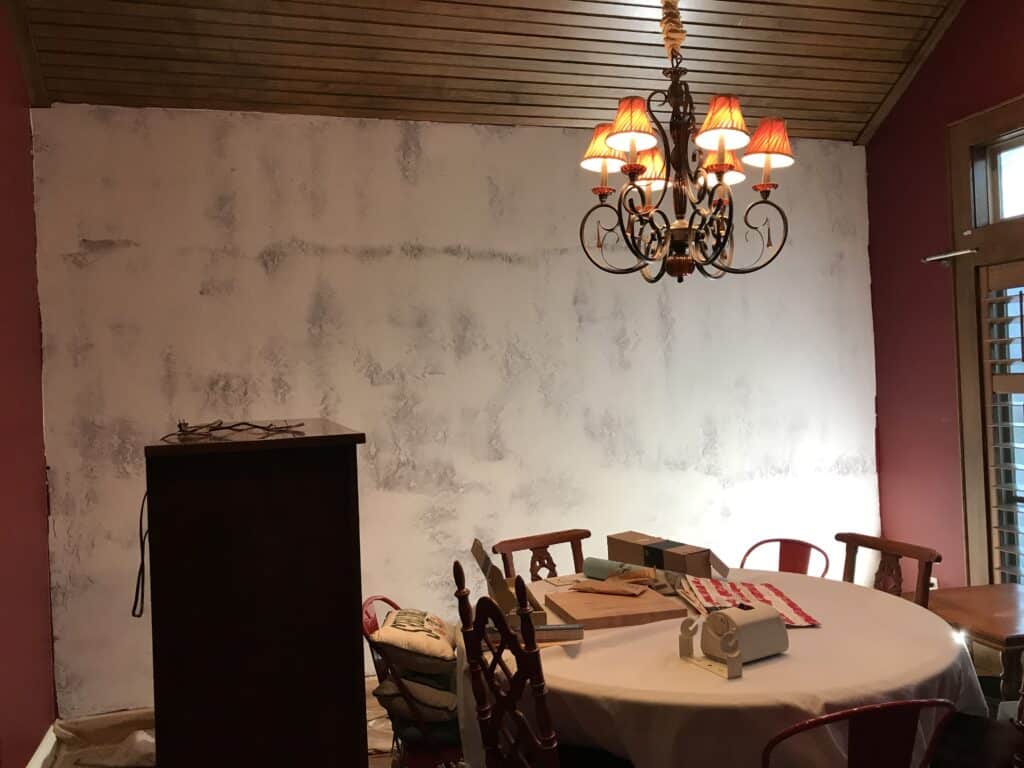
After my gorgeous new dining room wallpaper, it was immediately clear that my chandelier was not going to cut it.
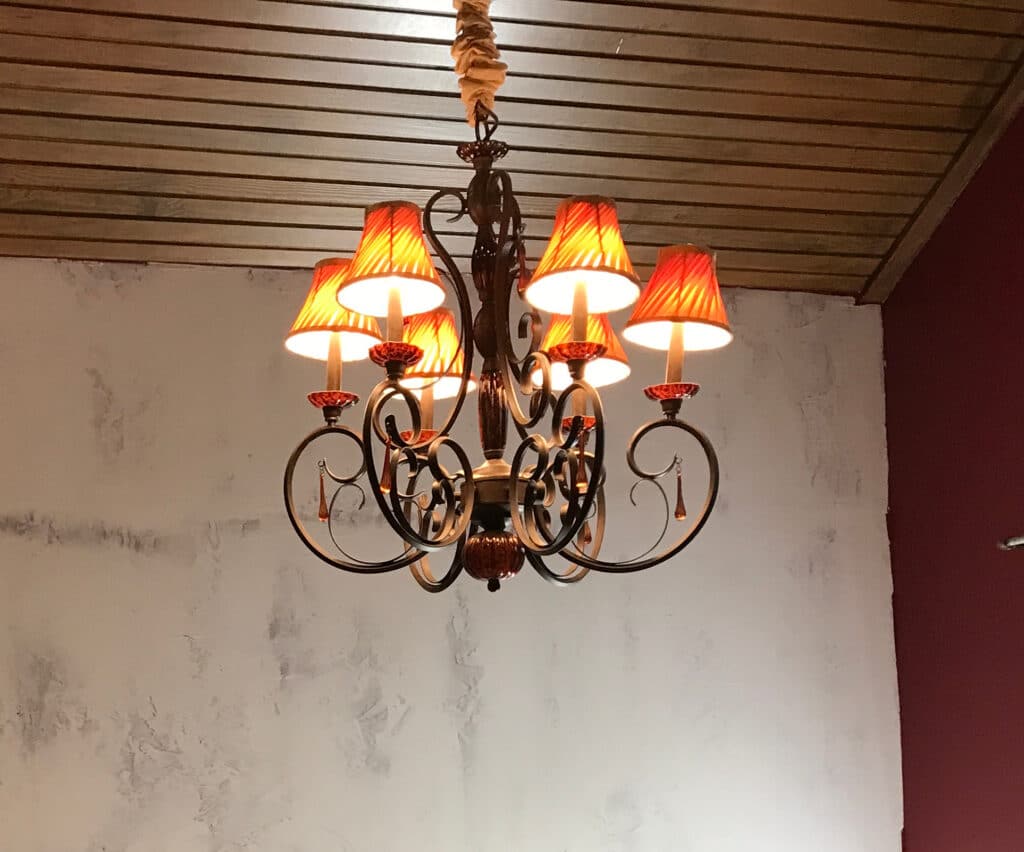
To be honest, I’ve always hated this chandelier.
It was picked out by the builder before we bought the house. In my (not so humble) opinion, home builders tend have terrible taste when it comes to fixtures. They pick out the cheapest fixtures that still look passable for a nicer home. Because their main priority is to sell the home they must appeal to the masses and current trends. They keep all the design choices bland, uninteresting, and inexpensive. They can be found in any big box store and do nothing for the aesthetic of a room except provide illumination. I’m not bitter about the person who built our house or anything.
All that being said about how annoyed I was with the builder’s choice for this chandelier; I understand why he did it. Light fixtures can get extremely expensive. When you’re coming down to the wire on your construction budget, things like chandelier prices are going to get cut.
DIY Chandelier Makeover
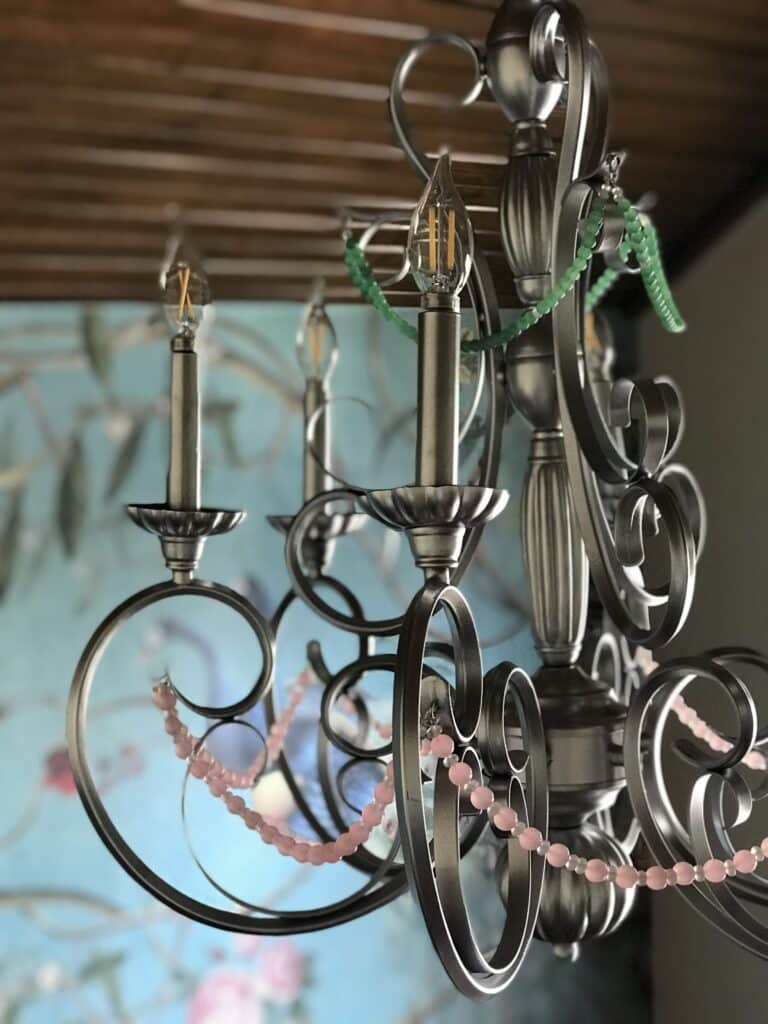
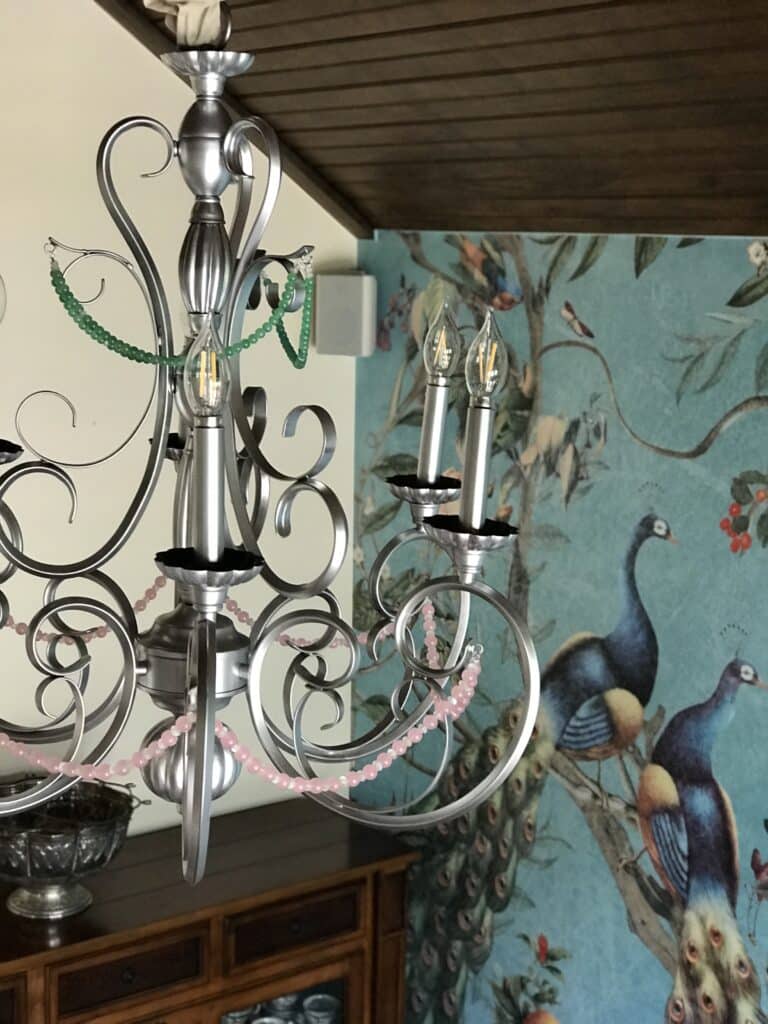
The high price of a beautiful chandelier is exactly why I decided to DIY my current chandelier instead of purchasing a new one. This chandelier makeover cost a mere $100 (instead of $700-$1500 for a new one).
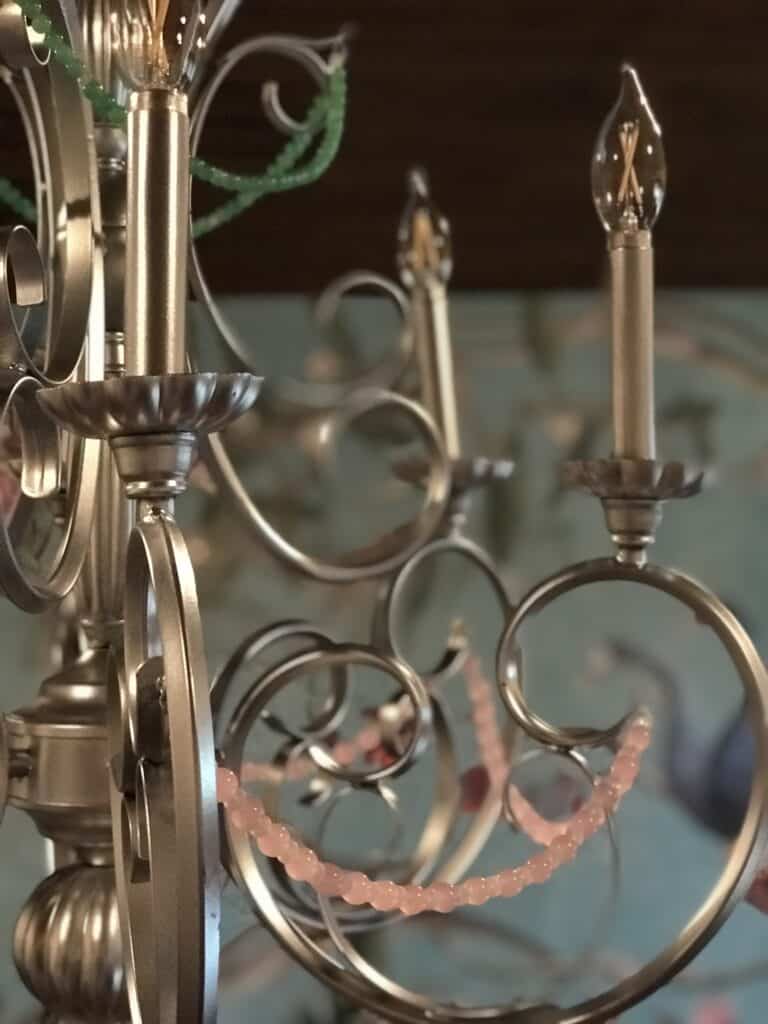
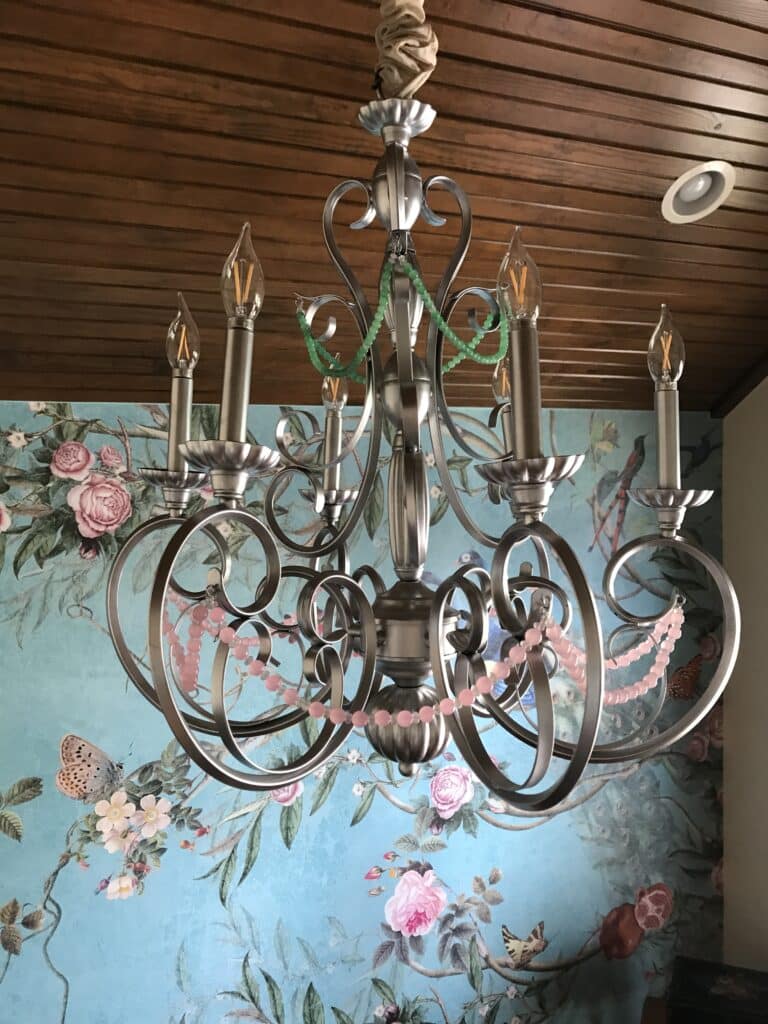
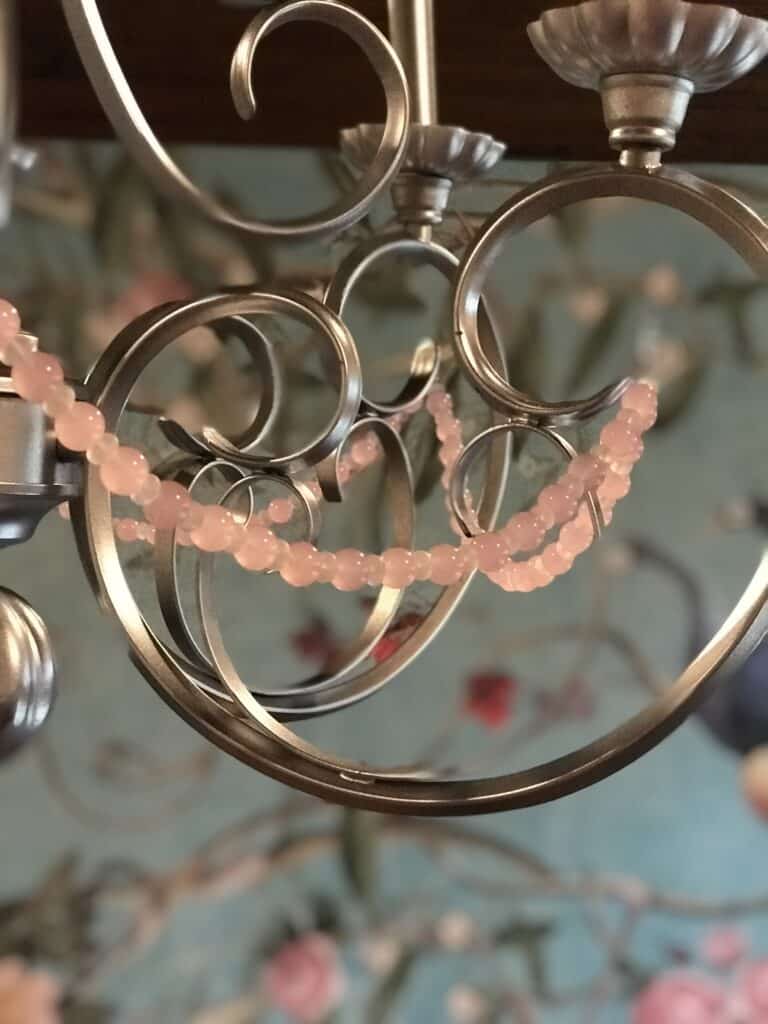
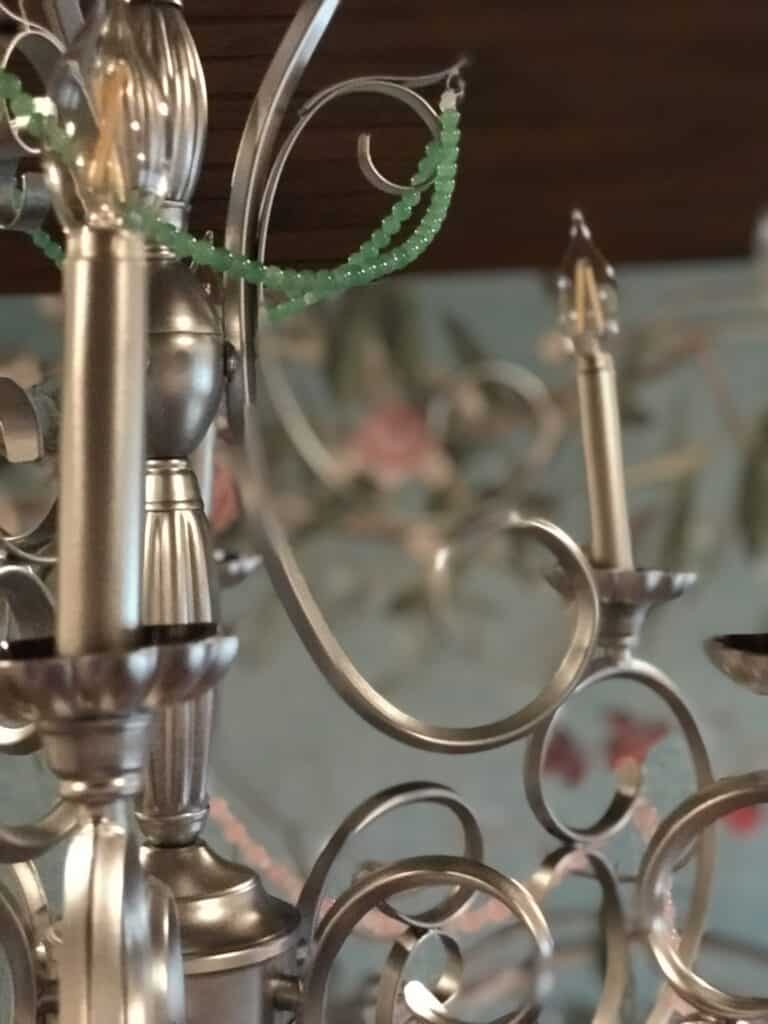
My goal was modern and elegant so I decided to spray paint the entire thing silver. I also wanted beading for a small pop of color. The colored beads also reminded me of the Waterford crystal chandelier that hung in my grandmother’s dining room. Glass beads from Hobby Lobby did the trick.
This DIY chandelier makeover project would have been completed in an afternoon had I purchased the right number of beads from the craft store the first time. Instead, I had to make multiple trips to find just the right color combination and amount of strands.
In the end I’m very happy with the result.



Leave a Reply