
Disclaimer: I was compensated for this review but all thoughts, opinions, photos and shenanigans are my own.
Just as the Thanksgiving holiday weekend was in full swing, the rain turned into ice. We were snug in our house but could use something to keep us busy. One can only watch so much football. The UPS man sensed our need for something new and delivered a package just in time.

I Do 3D is a great rainy day activity for those times when you have reached your screen time threshold. The box says ages 8 and up but I would say it is better for ages 10 and up. I Do 3D takes a steady hand, strong fingers and lots and lots of patience. My kiddos love crafts and were excited to try this but this one tried our patience.
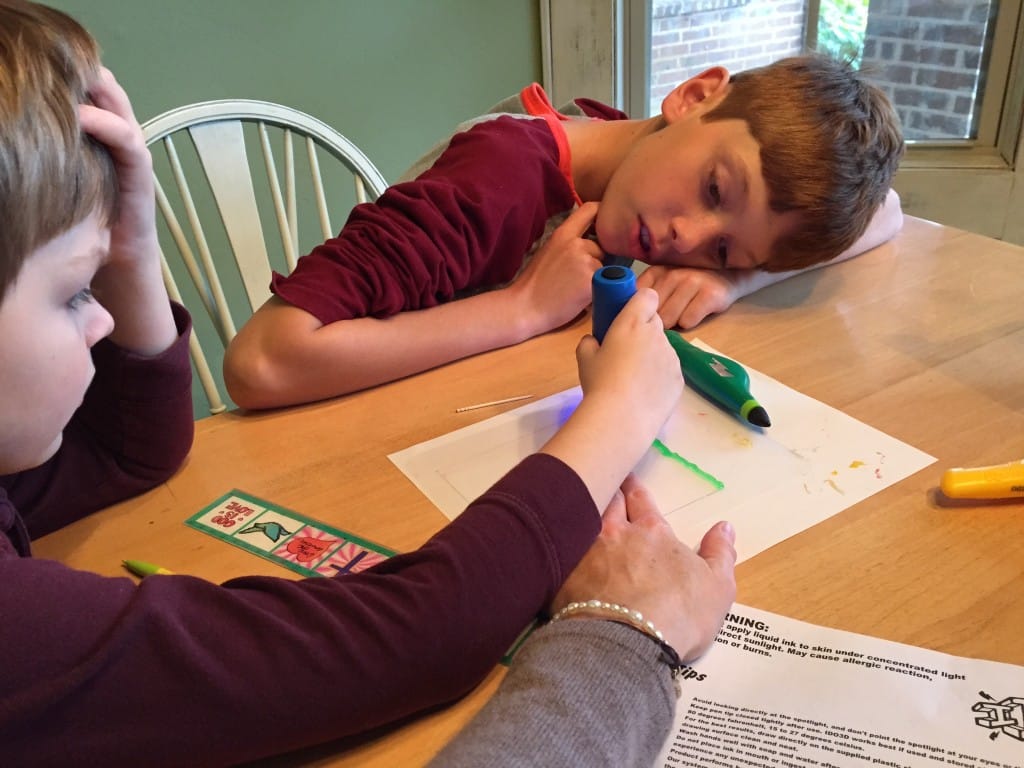
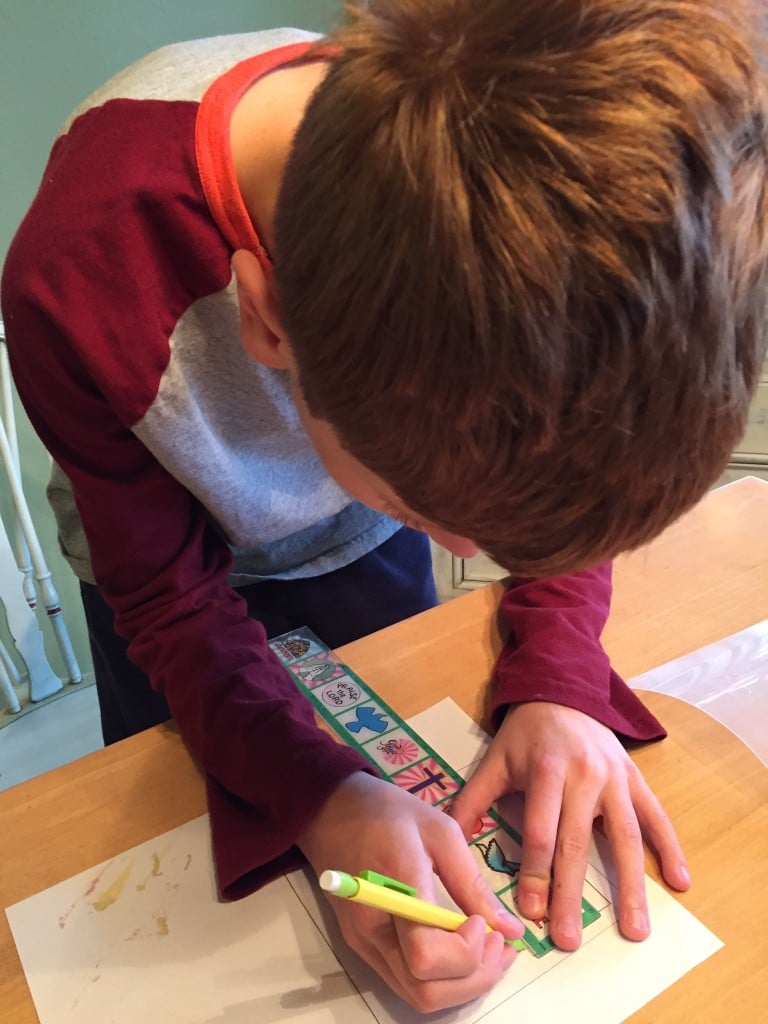
The kit comes with instructions, 4 3D ink pens, drying light (AAA batteries NOT included), instructions, plastic drawing sheet and design templates. The designs range from a simple flower to a complex t-rex. No matter how tempted you are to start off with the most interesting design, don’t. Practice on something simple first.
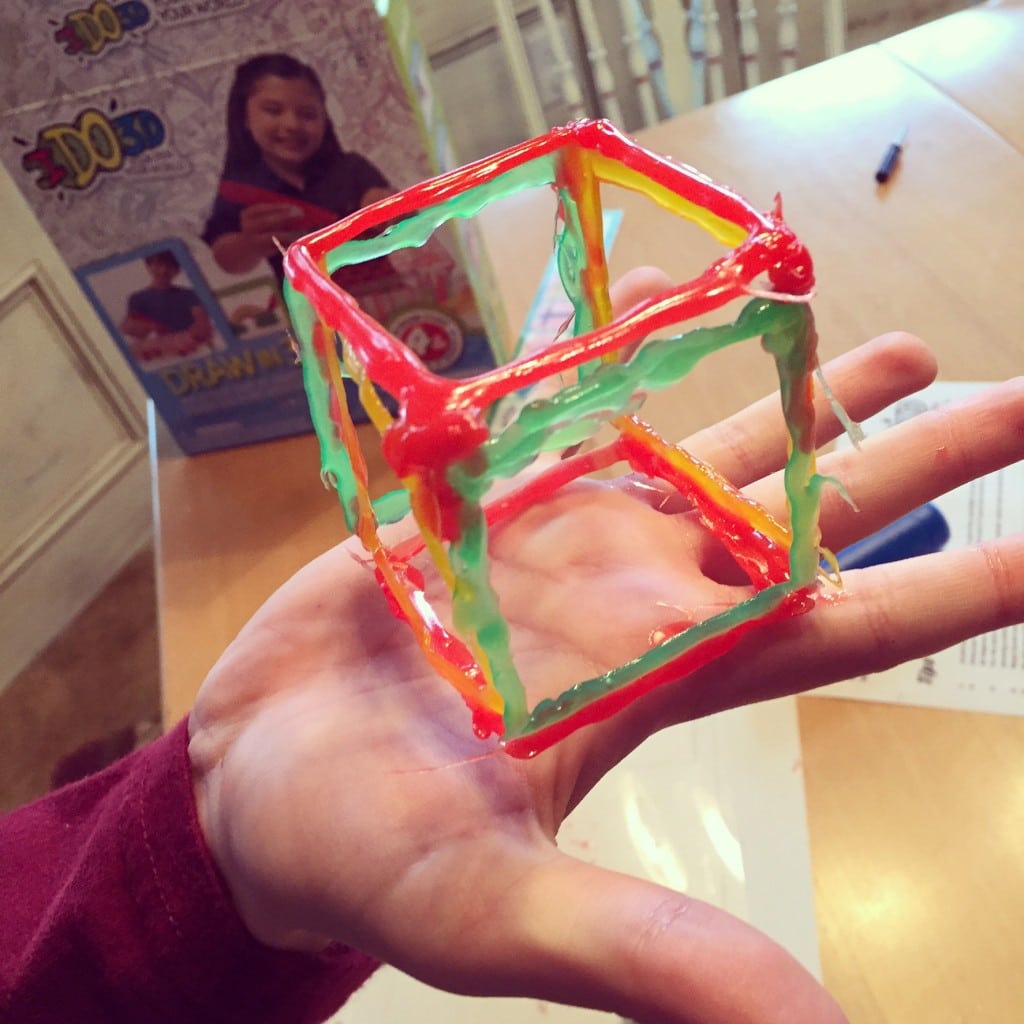
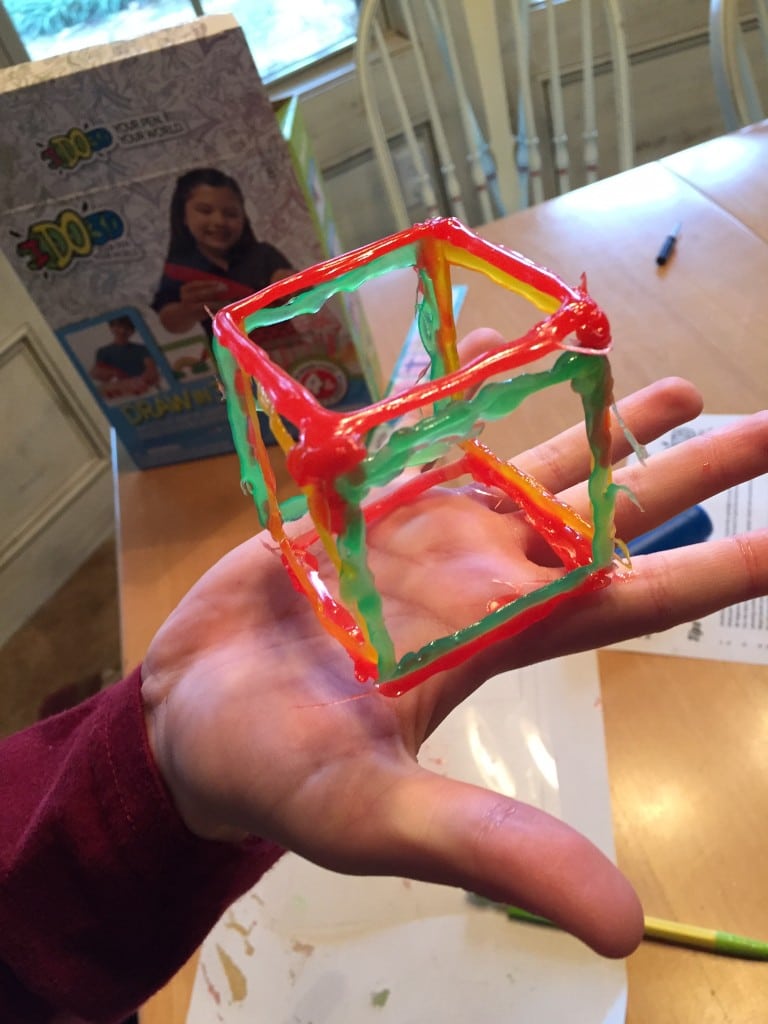
Addison (age 11) has a tendency to jump right in without reading directions and has grand plans to create something intricate and ground breaking. He wasn’t interested in making any of the suggested designs so I told him to draw his own design but to keep it s-i-m-p-l-e. He chose a cube. 6 squares, we can do that.
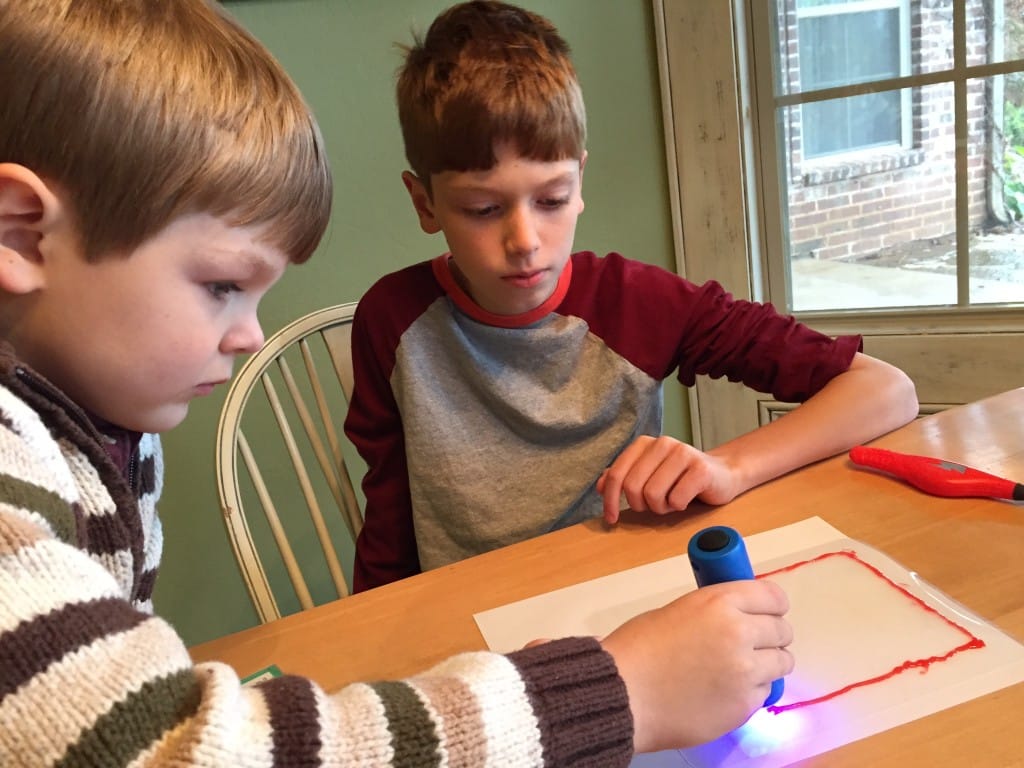
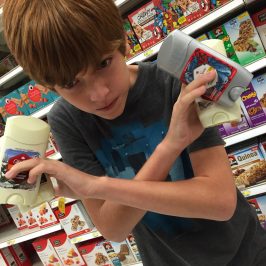
Initially he started with a 5×5 design but we quickly discovered that was way too big. He made two squares but soon realized that the 3D ink was still flimsy even when it was dry. He regrouped and made 2×2 squares. Harry really wanted to participate but he was too young to handle the ink pens. Instead, he helped shine the light on the ink as Addison finished each side of the square. He only required one time-out after he pointed the light in my eyes right after I read the warning in the instructions never to shine the light in your eyes. Thankfully, I’m not blind. After a few minutes of sitting in a chair, three feet from the action where Addison was working on the project with out him, he was repentant and ready to take his job seriously. I still had to supervise his light shining task as he had a hard time holding the light steady and long enough to dry the ink.

Once we had our six squares finished I held the pieces together while Addison used the ink to “glue” them together. It was a little sloppy and still sticky but we ended up with a successful 3D cube.
I would give this a 3 out of 5 star rating. If you or your kids are perfectionists, short on patience or give up easily then this project may not be for you. The ink has a thick gel consistency and can be difficult to squeeze out of the pens. By the end of our project Addison’s hands were tired and I had to finish the last couple of squares. It was extremely frustrating for me to watch him struggle through his pen squeezing technique and sloppy lines. I had to continually remind him to pull his sleeves up to avoid getting ink on his clothes and his lack of attention to detail was nerve wracking. If I wasn’t worried about the mess (I wasn’t sure how difficult it would be to get the ink off of his skin, clothes and the table) and Addison giving up (he has a tendency to start strong and then quickly give up when something gets too hard) I would have left him alone to his own devises. I really wanted to just take over and finish the entire thing myself but I restrained coup d’etat personality and only helped him at the end when both of our patience was running thin.
I Do 3D tips:
- This is a 2 person job. The plastic tracing sheet is slightly curved from the box so one person needs to hold the sheet flat while the other person uses the pen.
- Shine the light as close to your project as possible without touching it. The closer the light is to the ink, the faster it will dry.
- When your project is dry, shine the light from the back of the plastic sheet to give it an extra boost of drying light.
- Make sure to use fresh batteries in your light. Even if the light is working, if the batteries aren’t new they light may not be as strong and won’t dry the ink as effectively.
- Use a toothpick (to avoid getting the ink on your fingers) to gently poke and prod the ink to test if it is dry.
- Trace your design little by little instead of doing the entire thing at once. Draw a little then shine the light on that section, repeat.
- Use rubbing alcohol to remove sticky ink residue from skin.
Despite the frustration this was a good diversion from being cooped up with all the video games. If you think your kiddo has the focus to stick with it, this might be a fun snow day or rainy day activity for your brood. Here’s a link to Amazon for your convenience:


Chris Carter
That looks like a really cool craft my kids would love!! It looks a bit complicated and messy though… but I’m betting it’s worth it. 🙂
Stephanie Clinton
If you’re kids have a stick-to-it mind set I bet they would love this.